Archive Team
As stated on their website, “Archive Team is a loose collective of rogue archivists, programmers, writers and loudmouths dedicated to saving our digital heritage”. In practice, they attempt to rescue data from websites that are about to disappear.
You can help by downloading and running an “ArchiveTeam Warrior” appliance on your computer, in the form of a Virtual Machine or a (Docker) container. This appliance will fetch data from endangered websites and upload it into an archive.
Run your own ArchiveTeam Warrior
My homelab mostly runs AlmaLinux 9, with some Podman containers. There are various articles on running ArchiveTeam Warrior as a container:
Podman container on AlmaLinux 9
The first approach uses the ‘root’ account to set up the container. Note that the container does NOT have root privileges; podman takes care of all that.
Create the container definition
Log on to your Podman host. Become ‘root’ and create a file /etc/containers/systemd/archiveteam-warrior.container with the following contents:
    # ref: https://www.neelc.org/posts/archiveteam-warrior-podman/
    #
    [Unit]
    Description=archiveteam-warrior

    [Container]
    ContainerName=archiveteam-warrior
    Image=atdr.meo.ws/archiveteam/warrior-dockerfile
    AutoUpdate=registry
    PublishPort=8001:8001
    Environment=SELECTED_PROJECT=auto
    Environment=CONCURRENT_ITEMS=4
    Volume=archiveteam-warrior-projects:/home/warrior/projects

    [Service]
    Restart=on-failure
    RestartSec=30
    # Extend Timeout to allow time to pull the image
    TimeoutStartSec=180

    [Install]
    WantedBy=multi-user.target default.target
Refresh and start your Warrior
    systemctl daemon-reload
    systemctl start archiveteam-warrior
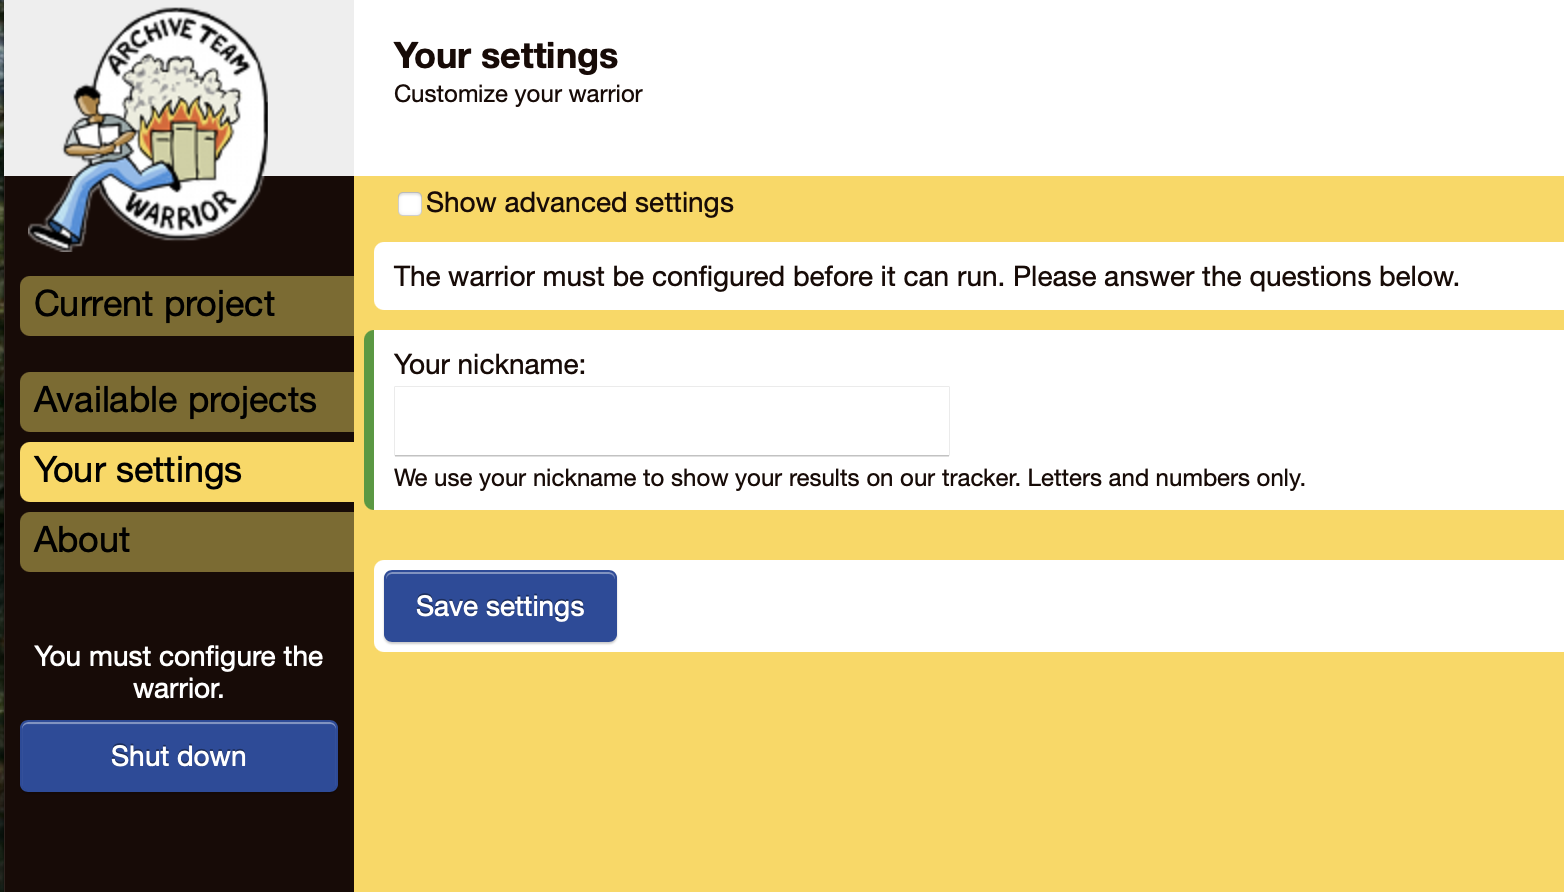
You should now be able to browse to the web interface on http://yourpodmanhost:8001/ where you are asked to enter your nickname. This will be displayed on the Project Leaderboard once you start working on a project. To select or change project, look under “Available projects” - I suggest “ArchiveTeam’s Choice”.
Stopping your Warrior
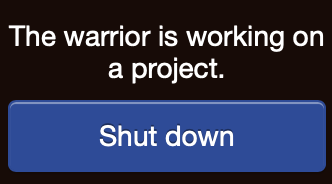
If possible, do not force the Warrior to shutdown - let the Warrior complete the current task by pressing the “Shut down” button on the web interface and wait for it to finish before stopping the container or rebooting the host.
Podman container as a normal user on AlmaLinux 9
The second approach runs the container as a regular user. Some extra steps may be needed.
Create the container definition
Log on to your Podman host, and run the following command:
mkdir -p ~/.config/containers/systemd
Create a file ~/.config/containers/systemd/archiveteam-warrior.container with the following contents:
    # ref: https://blog.legoktm.com/2024/07/08/running-the-archiveteam-warrior-under-podman.html
    #
    [Unit]
    Description=archiveteam-warrior

    [Container]
    ContainerName=archiveteam-warrior
    Image=atdr.meo.ws/archiveteam/warrior-dockerfile
    AutoUpdate=registry
    PublishPort=8001:8001
    Environment=SELECTED_PROJECT=auto
    Environment=CONCURRENT_ITEMS=4

    [Service]
    Restart=on-failure
    RestartSec=30
    # Extend Timeout to allow time to pull the image
    TimeoutStartSec=180

    [Install]
    WantedBy=multi-user.target default.target
Note that no Volume has been explicitly defined here.
Refresh and start your Warrior
    systemctl --user daemon-reload
    systemctl --user start archiveteam-warrior
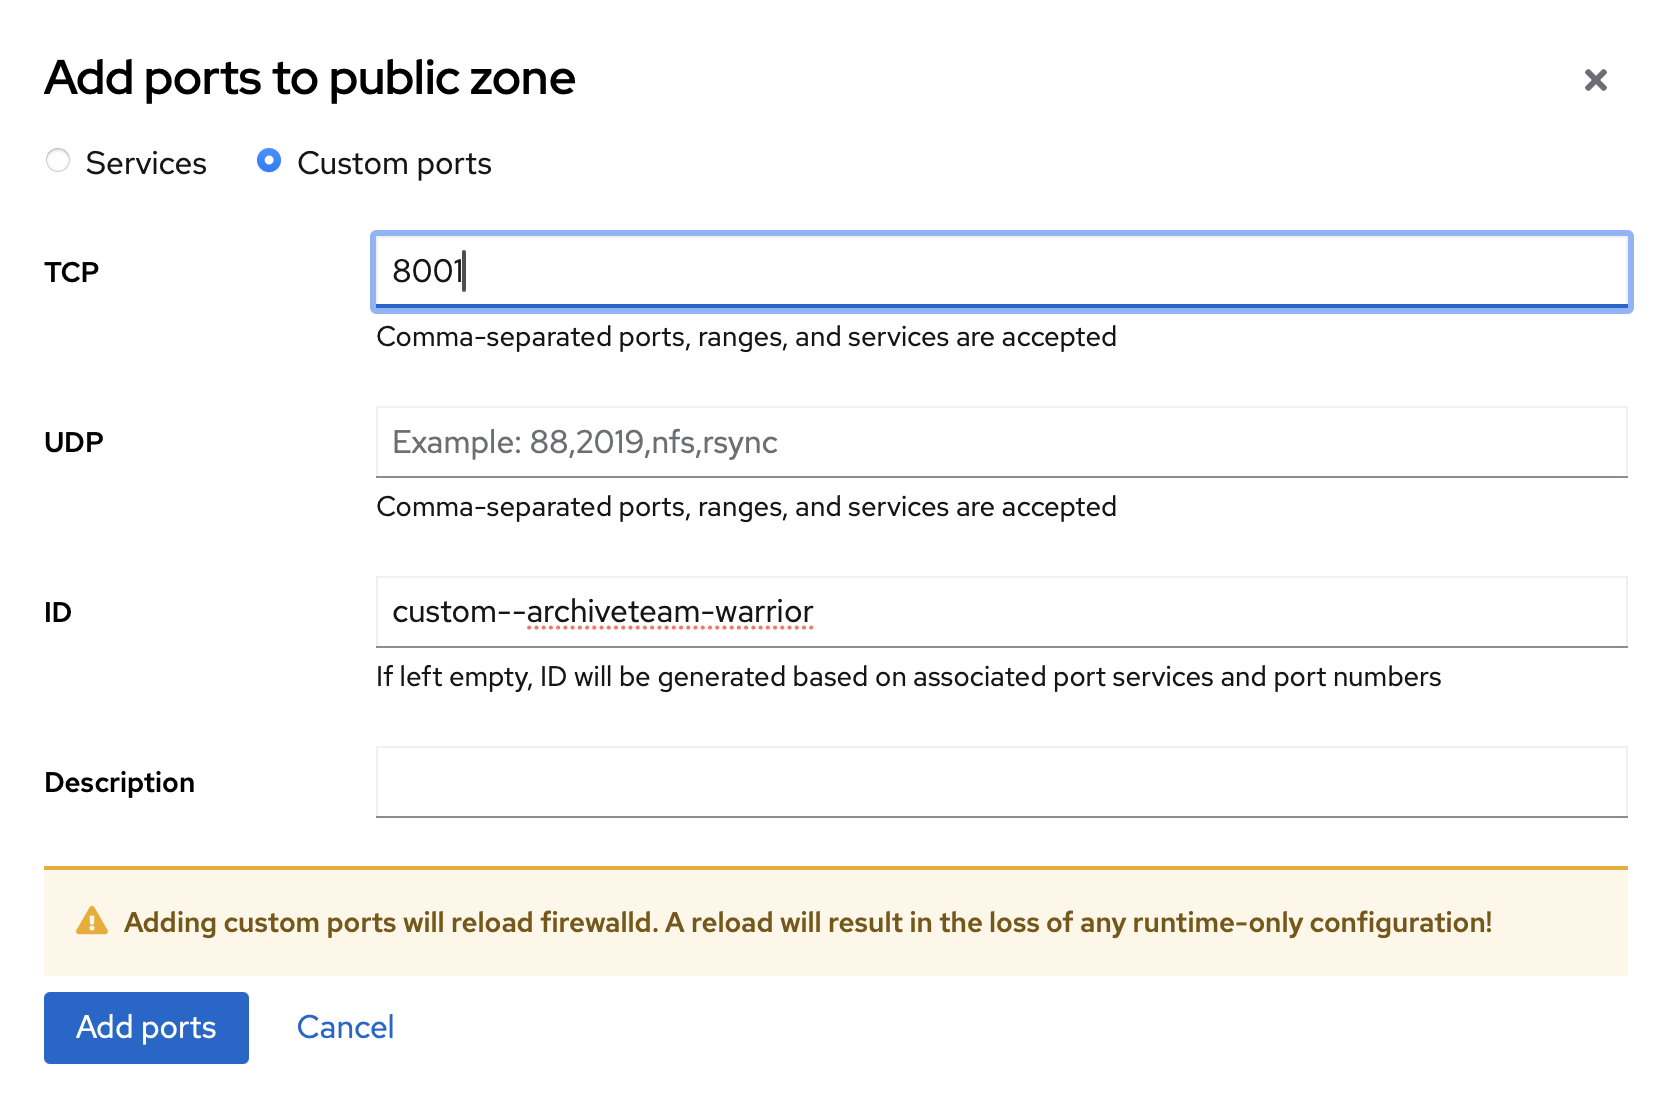
Open the firewall
You may need to open port 8001/tcp in the host firewall. Open the Cockpit web console at http://yourpodmanhost:9090/, browse to Networking and click the “Edit rules and zones” button under Firewall. Under “Public zone”, click “Add services”. Add TCP port 8001, give the service a name like “custom–archiveteam-warrior”.
Enable user ‘lingering’
Finally, enable “user lingering” to prevent systemd from stopping your containers when you log off:
sudo loginctl enable-linger $USER
Happy archiving!
All done - your Warrior will automatically start at boot and help save the Internet ;-)